Look what I can see through

|
Here I used colored pencils to create a drawing of looking through something see through.
Brainstorming ideas:
|
1. I decided to have the gumball machine off to the side a bit to give an interesting point of view
2. Perspective is important to help the viewer feel like they are looking at the art if it was really in front of them
3. They helped give me an idea of how I was going to draw this piece of art and make it look good
4. In this project I used different colors to give it more dimension and look more realistic
5. Not really. I focused on the depth more in the actually gumball machine
6. My experiences with perspective in this class has helped me improve at doing perspective and learning how it works
7. I would have liked to know how to make it look like there was more behind the first row of gumballs
Look At that veiw perspective
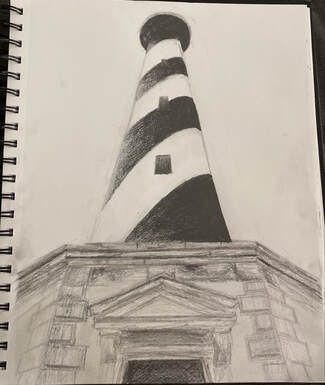
|
For my perspective drawing I used pencil to draw worms eye view of a light house.
|
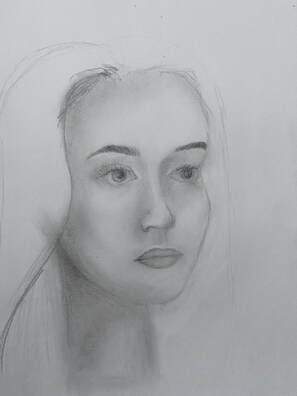
Facial Features
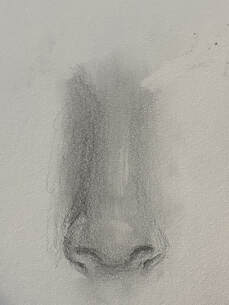
|
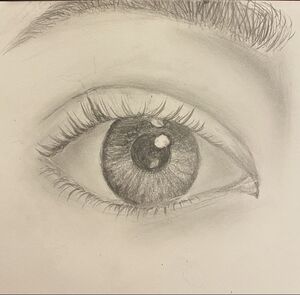
|
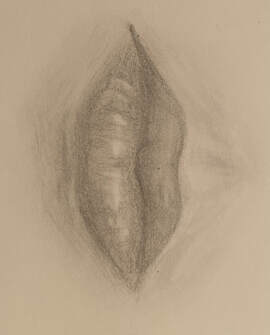
|
These are my facial feature I drew with pencil.
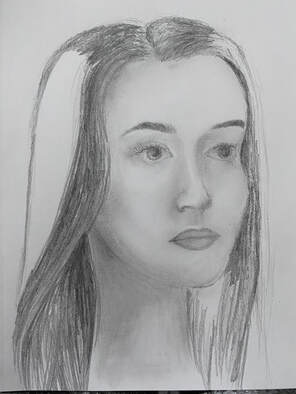
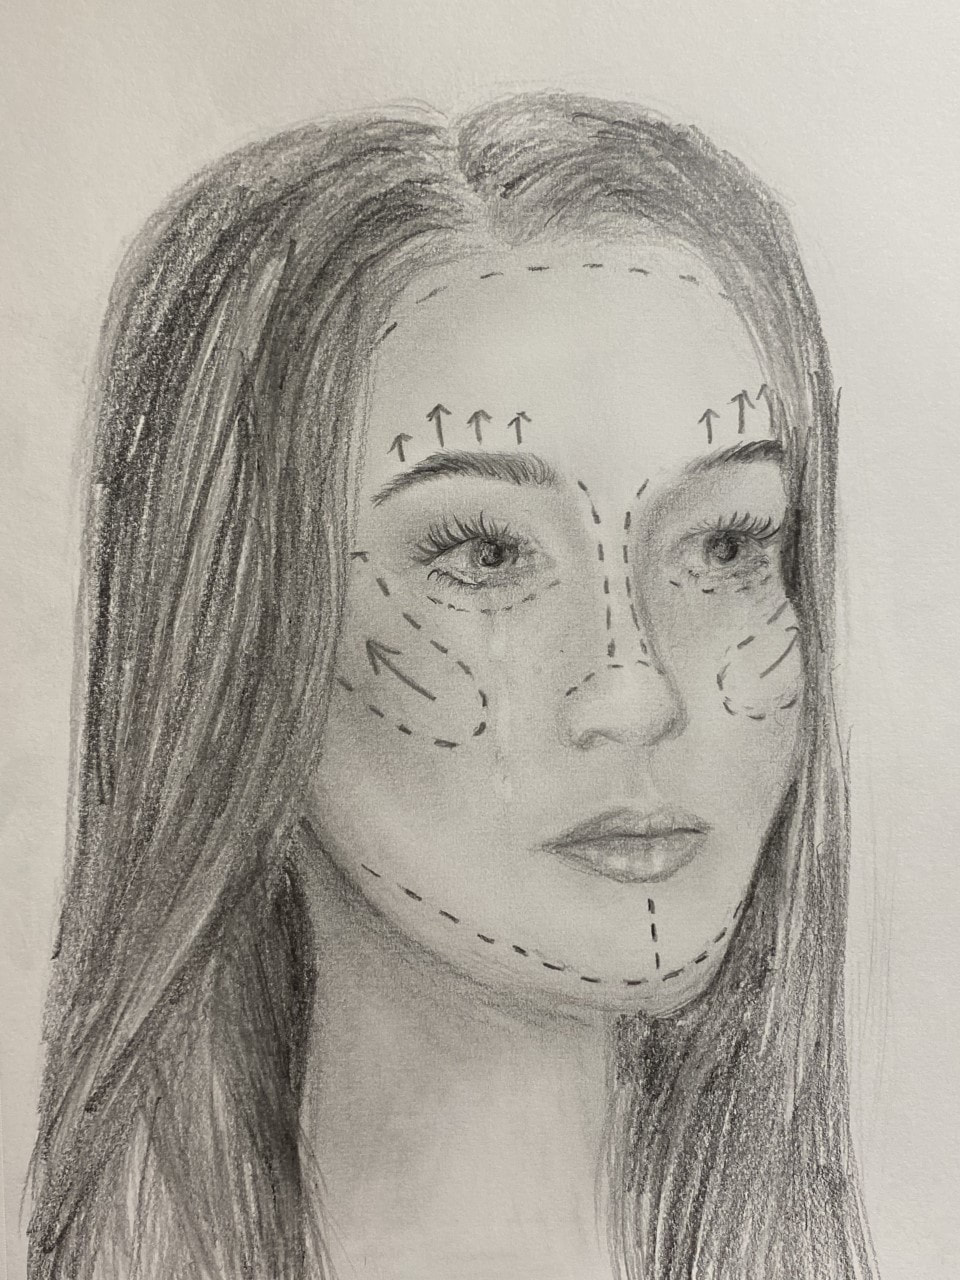
Self Portrait
|
|
|
Brainstorming Ideas: Face and facial features starting to drip down my face like its melting, Certain facial feature flipped around, Blowing bubbles so they are around my face and in color, A colorful portrait using color instead of realistic skin colors, Facial features look like they are stitched on my face, Blocked off sections for more of a solid color in one section , Little lights like fairy lights wrapped around my face, Writing on my face like what you see in shows before someone has plastic surgery(teary eyes because of the change), My face as if I was in black and white and smearing color onto my face.
1. I started by drawing the outline of my face and then adding dimension to my face and blended it. Once I got the man face I started adding closer details including facial features and hair.
2. For this project I did a self portrait of myself but with plastic surgery lines on my face. I did the Cosmetic surgery lines because of how common it is for people to change something now because of wanting to fit beauty standers.
3. I do this I got a good amount of range and I made sure to use different pencils and values
4.I think in the begin it was not neat and did not look like me but then once it was finished it did get more neat and looking like me
5. I captured my look by taking a picture of myself with the exact facial exertions that I wanted in my art
6. That was something I actually had a hard time with. I just kept slightly moving my facial features until they were right
7. Its important to know how to draw all facial features so you can put different facial feature and draw different faces
8. The most beneficial part of this unit was just learning how to draw faces better
9. An obstacle was just the way my face was angled. I knew I wanted to be looking off to the side but it made getting the features right a little bit harder to do
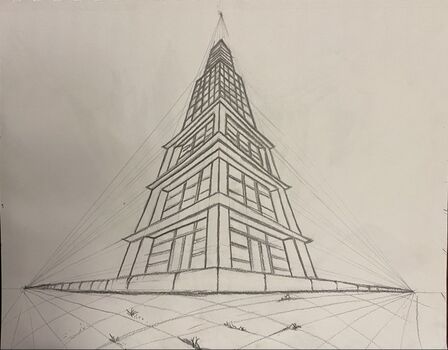
Three point perspective drawings
|
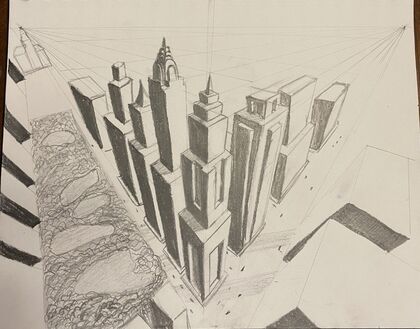
|
These are my three point perspective pieces of art using three different points to show buildings from worms and birds eye views.
Two point perspetive drawings
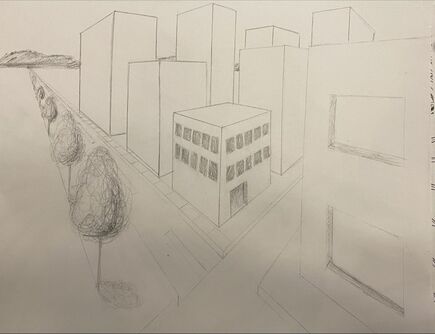
|
|
These are two point perspective art showing buildings going to the horizon line with two split roads.
One point Perspective Drawings
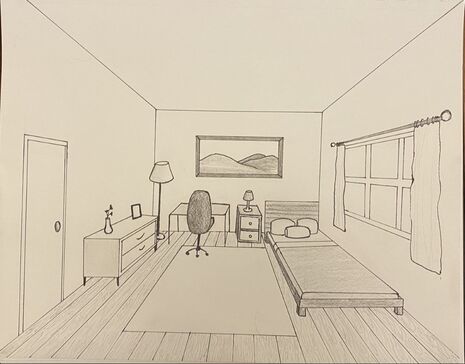
|
|
These are two drawing I made after learning how to draw perspective. One is a picture of just simple squares and the other is a room.
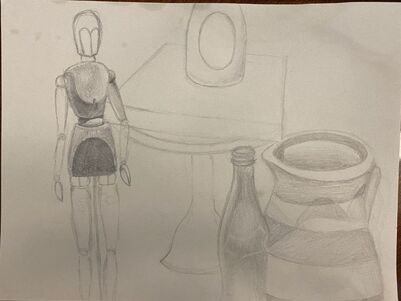
Still Life
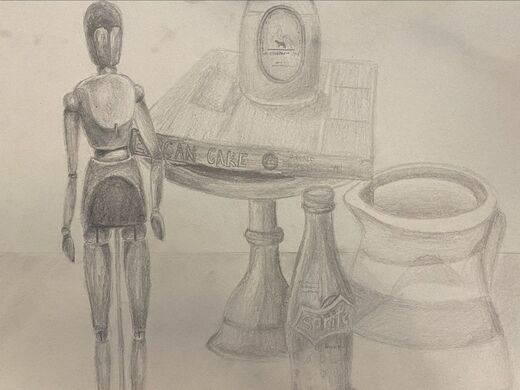
|
This is my still life where I use graphite to show lights and darks in my objects I chose. I used a wooden mannequin for drawing, a sprite bottle, pitcher, book, and a candle.
1. My art has some define edges but also smudged. I had a trouble showing different items not blending together but tried to make it look as clean as possible. 2. I used value and shadows in my picture because they include more depth and make it look more realistic 3.Yes there was a clear source of lighting 4.The composition sketches were very important because they helped me figure out which which composition would look best to draw before I |
drawing.
5. My final drawing is successful because I used lights and darks to show different values and materials that I used
6. Yes. I would say at least most of my proportions, structure and perspective.
7.Yes. This was the best composition I had to lay out everything together.
8. I just think that is everything because of how they work together but the wooden mannequin pulls most attention
9.I honestly did not do good managing my time. I did not even do it in time so it was late but I did mange my time when I was actually getting it done.
10. A challenge was really defining all of the different shades of grey and so I just made it darker against certain spots to show the different objects
11. I have learned how to draw with composition and use shading and value.
|
In Progress One
|
In Progress Two

|
Contour Backpack
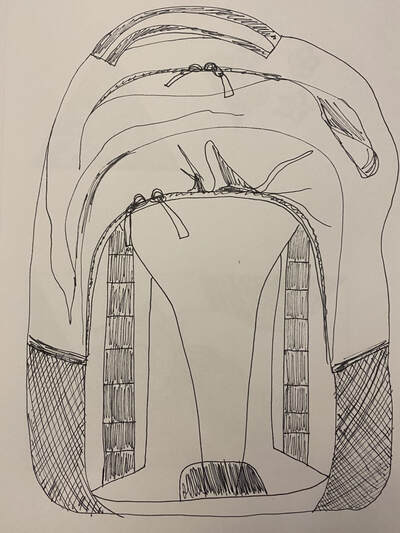
|
This is a drawing of my backpack using pen
to see how much detail I could draw |
CONTOUR shoe
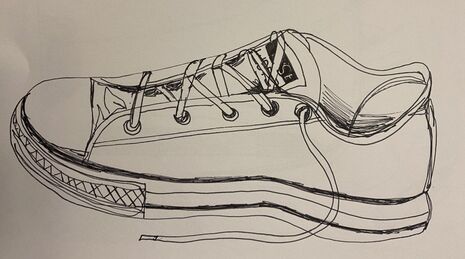
|
This a shoe I drew with pen to see how much detail I could include just using a pen to draw.
|
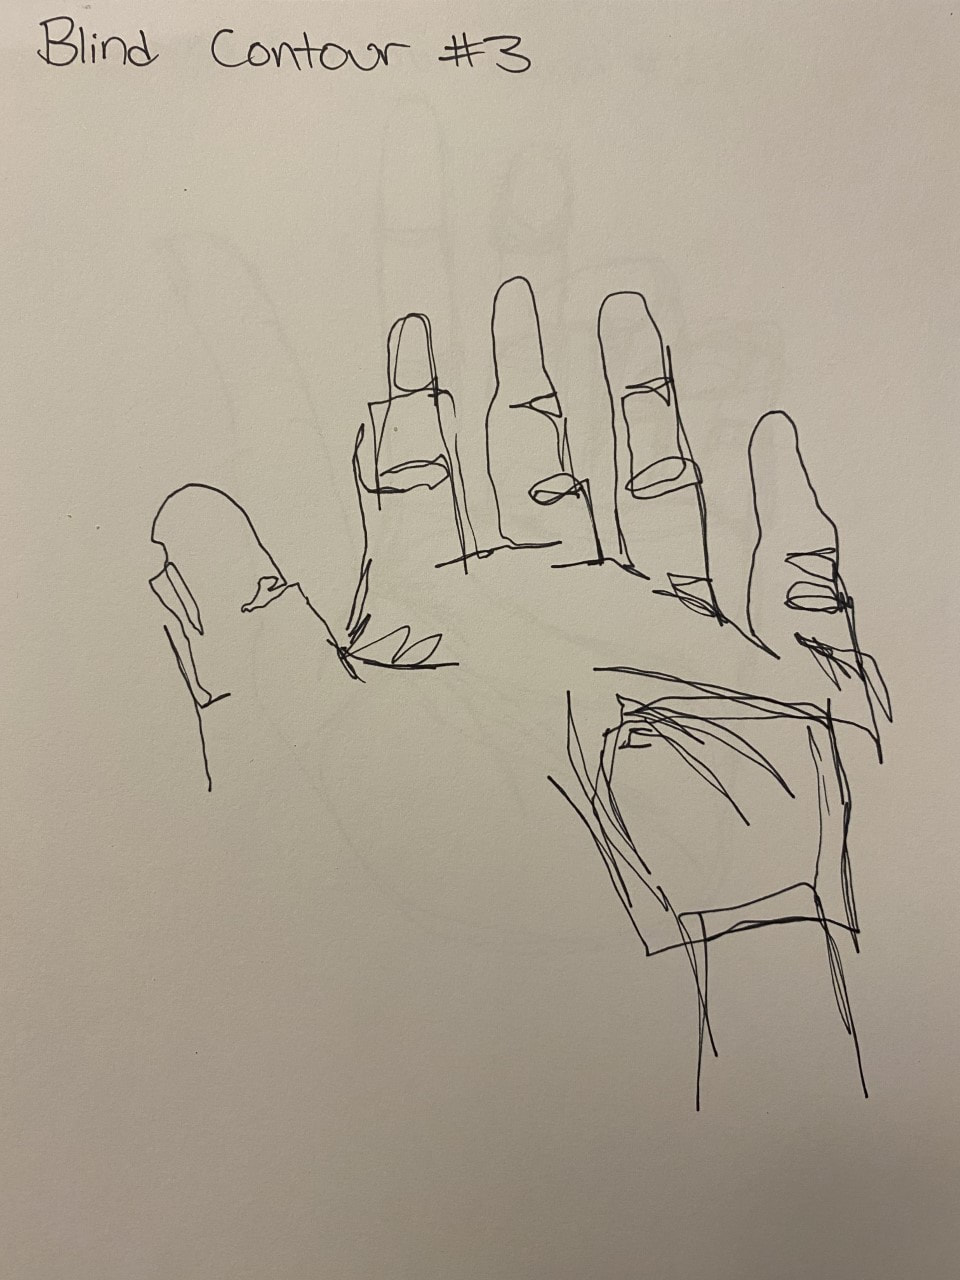
Modified blind contour of hands
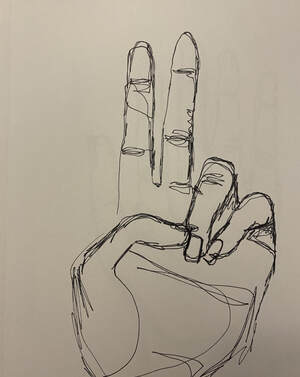
|
|
|
These were the modified versions where I was able to look back and forth between my hand and the paper.
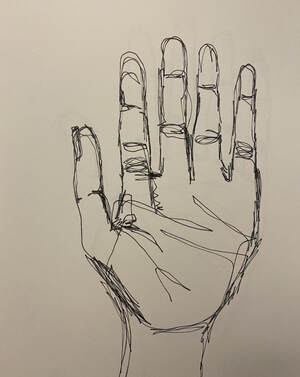
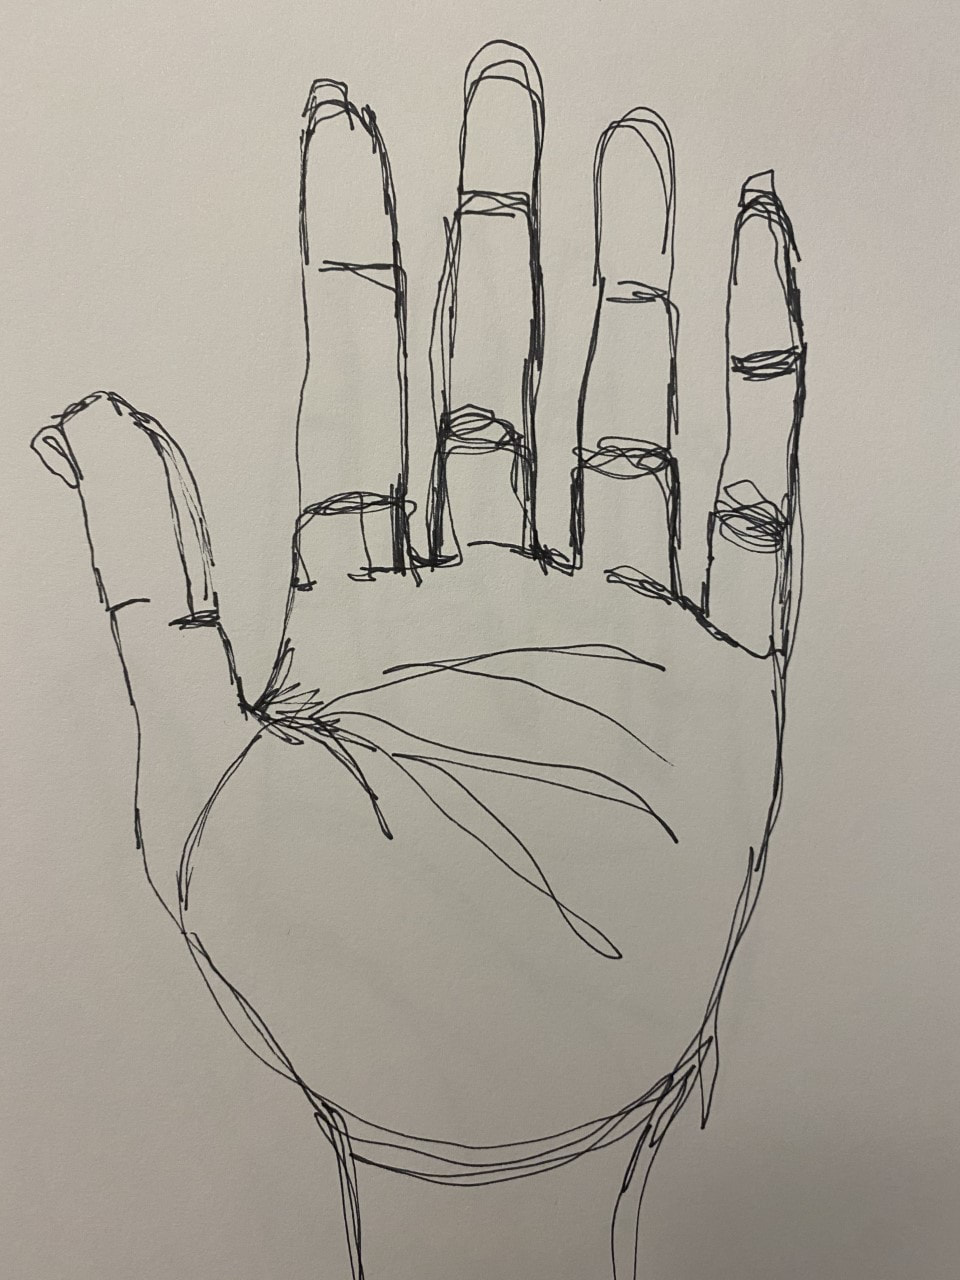
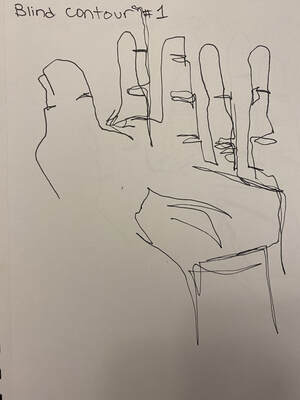
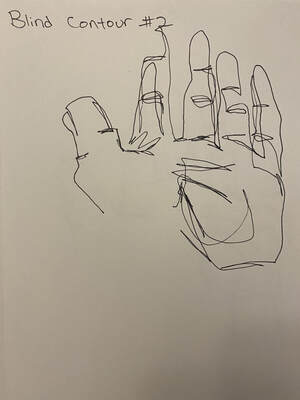
Blind contour hand drawings
|
|
|
These hands were my best attempt at looking at my hand and not the paper at all to draw my hand and see how well I could do.
Shaded forms
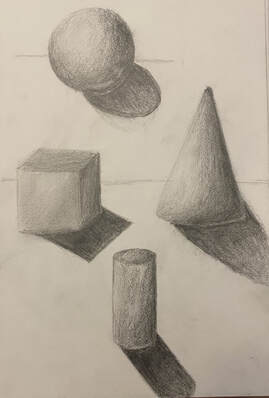
Here I did some practice for drawing
3D shapes using pencils.
3D shapes using pencils.
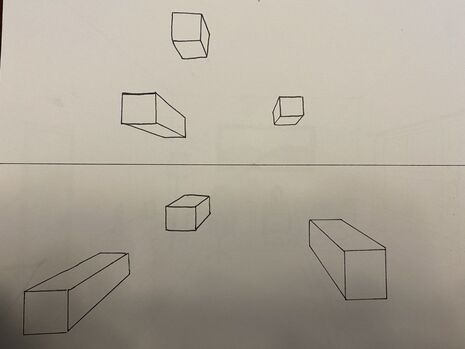
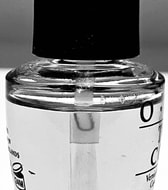
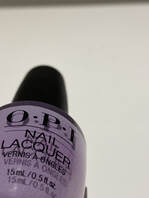
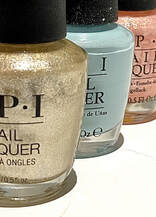
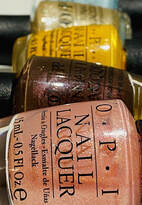
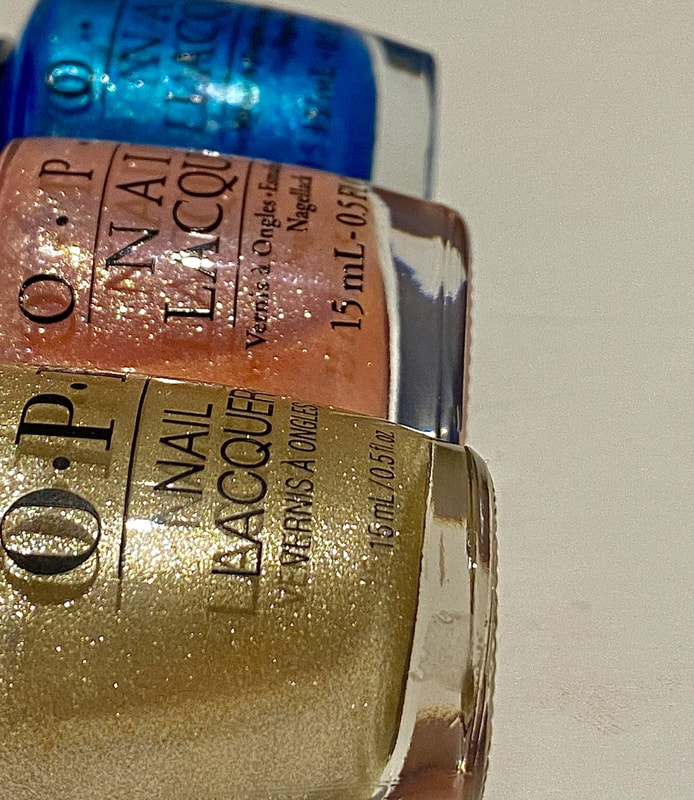
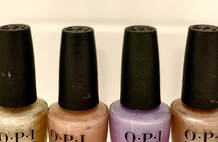
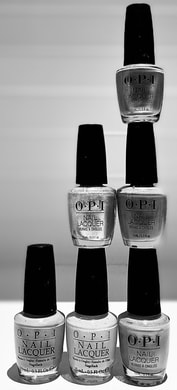
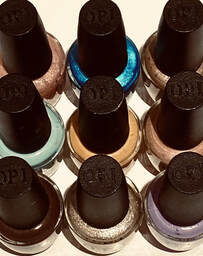
COMPOSITION PHOTOS
|
|
|
|
|
|
|
|
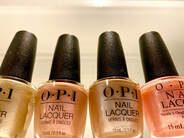
For my composition pictures I used nail polish. I used different colors, mattes and shimmer, and also played with editing and filters. Most of these are symmetry and rule of thirds.
|
Value chart
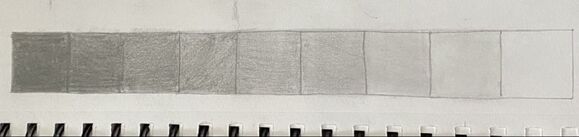
This is a value chart I made using pencil to
see how light and dark you could get it by
how much pressure you put on the pencil
and by building up the shading
see how light and dark you could get it by
how much pressure you put on the pencil
and by building up the shading
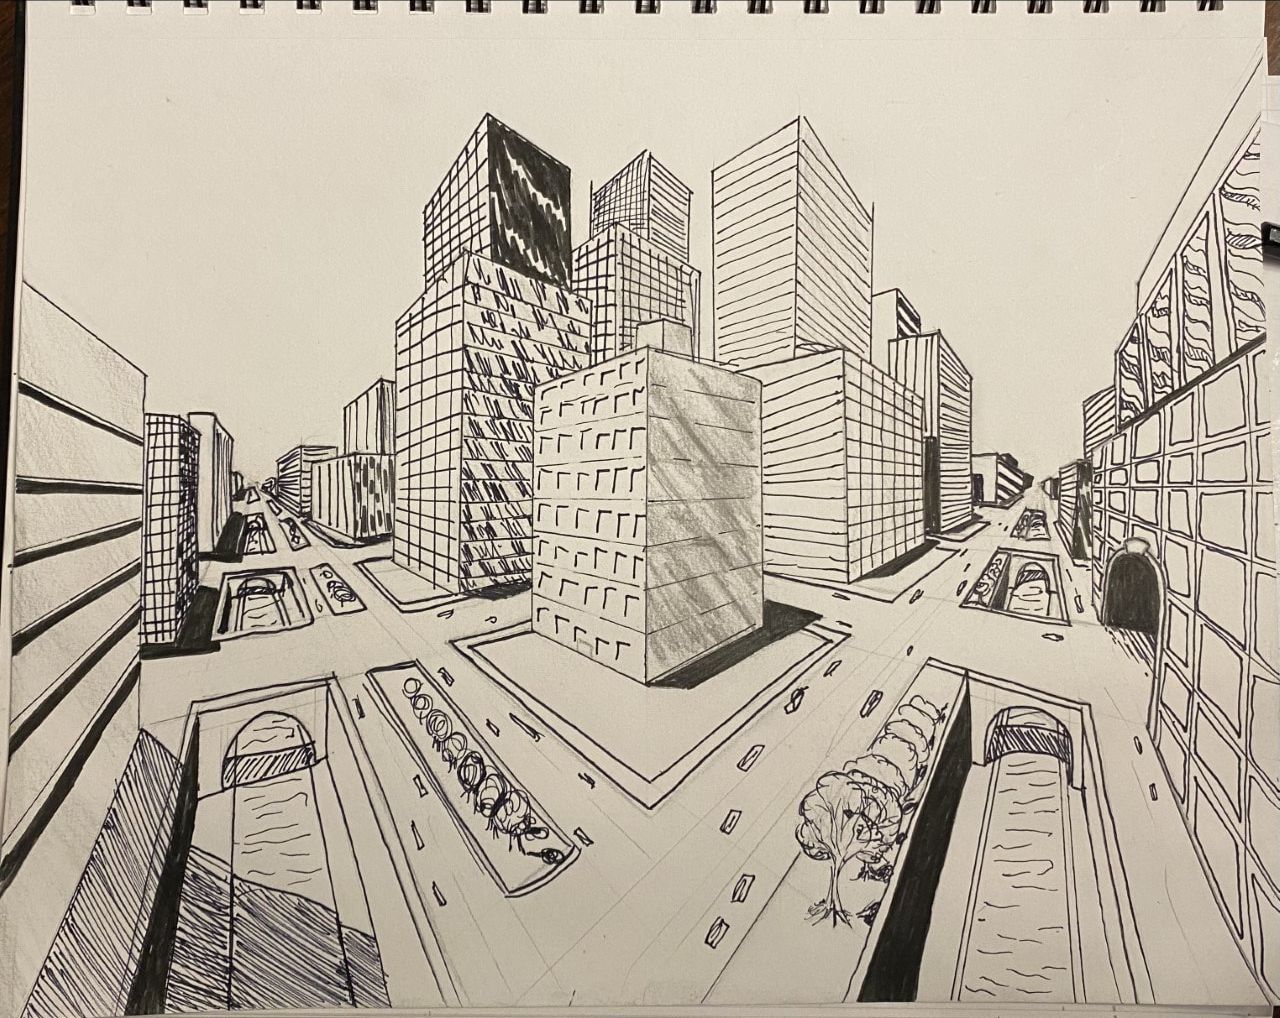
4 Assessment drawings
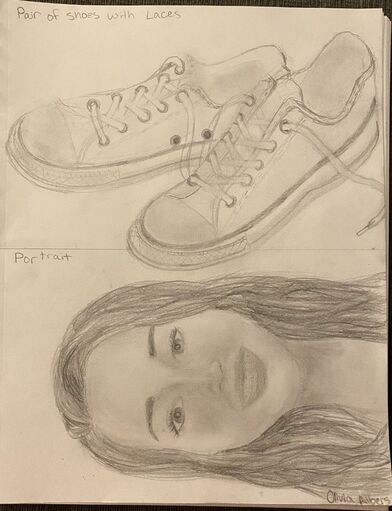
|
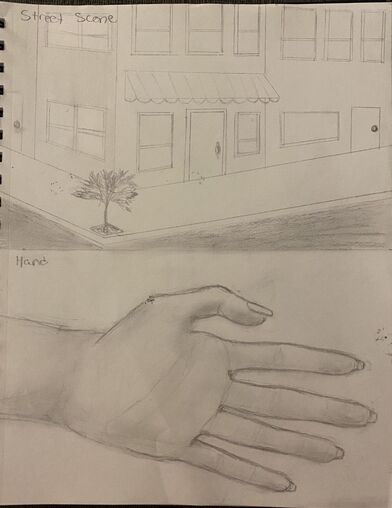
|
These were the first 4 drawing I completed in class that are a pair of shoes, a portrait, street scene, and a hand.
